Step-by-Step Guide: Creating Custom ESS Jobs in Oracle Cloud/Fusion
Oracle Cloud Enterprise Scheduler Service (ESS) Jobs offer a wide range of functionalities, including executing business logic using PL/SQL, BIP Reports, Host, SQL Loader, and other technologies. While Oracle Fusion provides several standard/seeded ESS jobs like Aging Report and Trial Balance reports, there might be instances where you need a custom ESS job.
But, can you create a custom ESS job in the Oracle cloud?
When working with the cloud application, you may not have direct access to create objects like tables, views, or PL/SQL. However, you can still create a custom ESS job using the BI Publisher report functionality.
Let’s delve into the process of creating a custom ESS job in Oracle Cloud, illustrated with an example.
Step 1: Create a BI Publisher Report We will start by creating a straightforward BI Publisher Report using the “all_objects” table, with the owner as an input parameter.
a) Set up the data model: Login to Oracle Cloud Fusion (OCF) and access the Tools -> Report and Analytics section. Click on the “Browse Catalog” button to open the BI Publisher console. Next, locate the “New” drop-down list at the upper right-hand corner and choose the “Data Model” option.
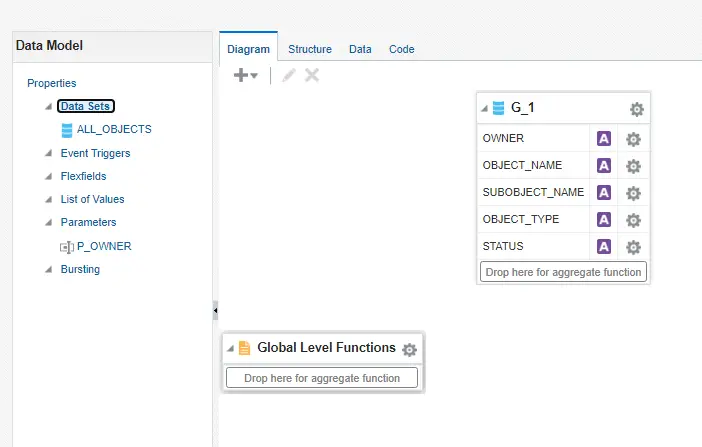
This opens a blank Data Model canvas. Click on the plus sign to create a new SQL query-based Data Set along with one input parameter as shown below.
1. SQL Query
SELECT OWNER,
OBJECT_NAME,
SUBOBJECT_NAME,
OBJECT_TYPE,
STATUS
FROM ALL_OBJECTS
WHERE OWNER = NVL(:P_OWNER, OWNER)
2. Data Model
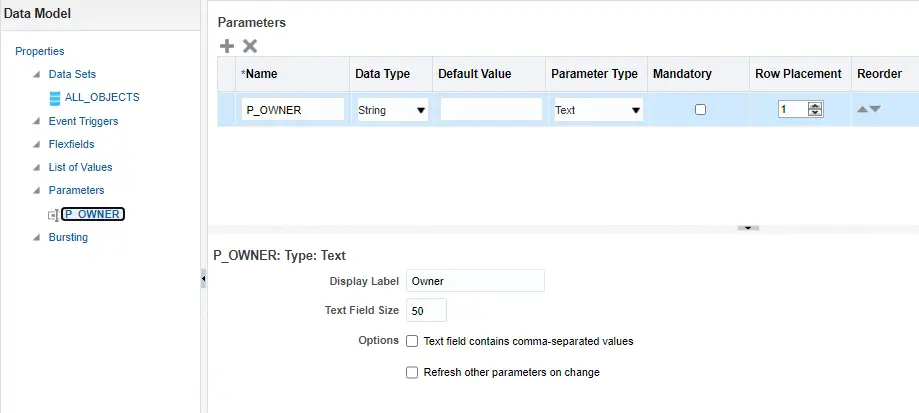
3. Parameter
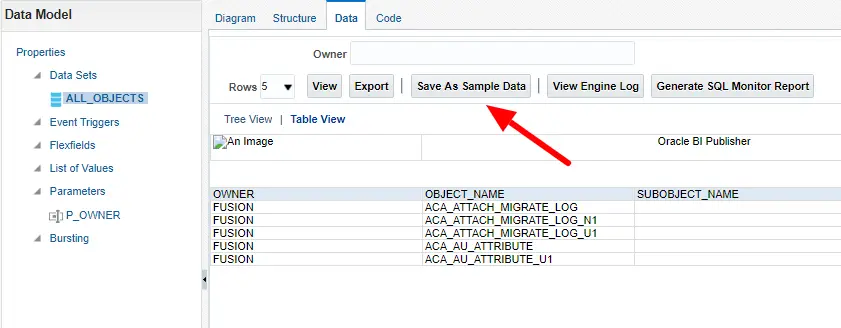
Now, go to the data model and click on the Data tab and click on the view tab to generate sample data. This data is required to create the report.
Click on Save As Sample Data button.
You should get confirmation from OCF that Saved as sample data. Click Ok
Click on the Save icon available on the upper right hand. This opens the browse and save window. Browse and Select the path( /Shared Folder/Custom/) to save the data model.
The data model is done, now let’s create a report layout.
b) Create a Report Layout
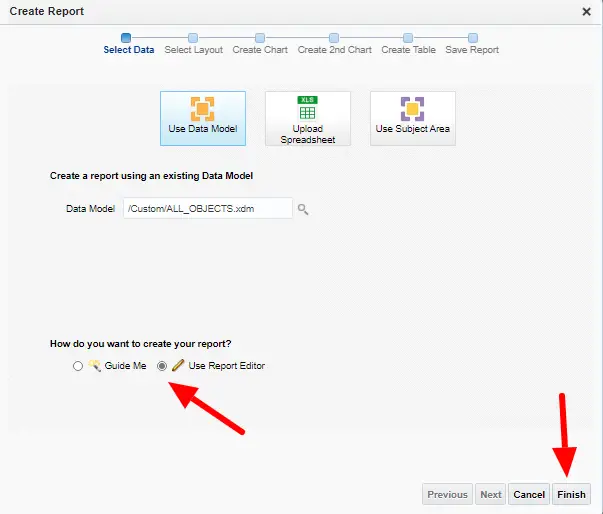
Click on the Create Report button to open the below window. Select the Use Report Editor option and click on the Finish button.
This opens the save box. Save the report in /Shared Folder/Custom/ path.
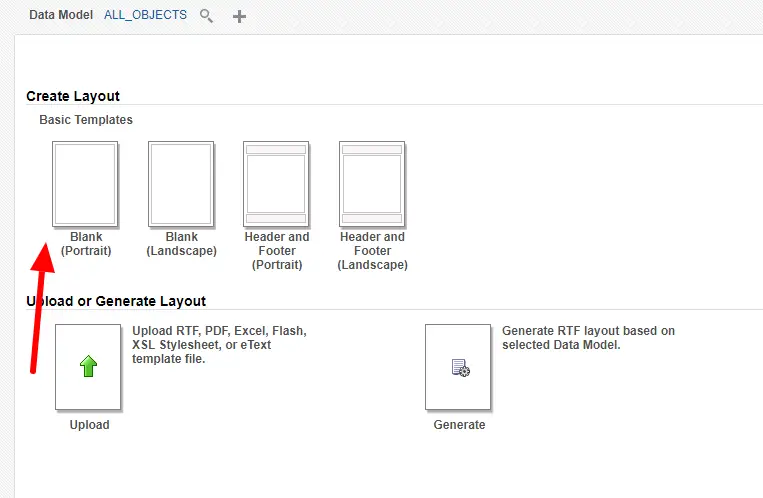
Click on the Blank (Portrait) icon to open the report canvas.
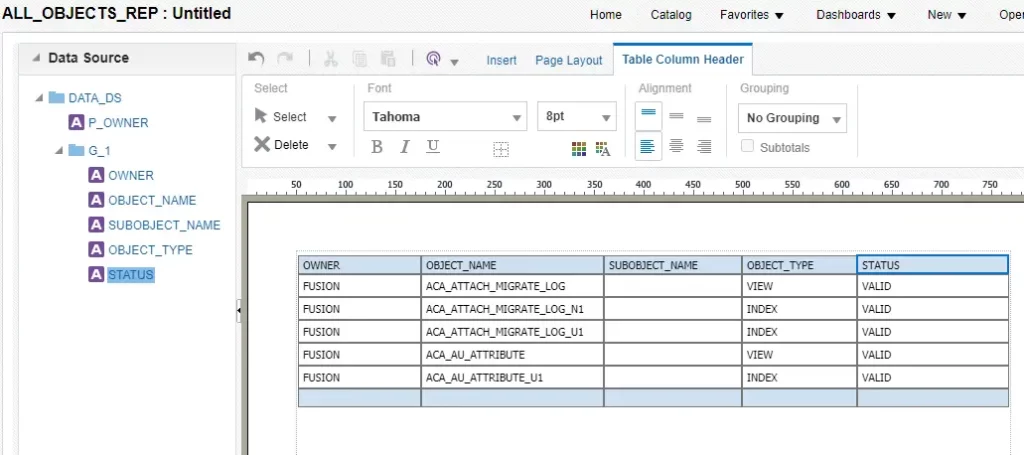
Create a simple data grid based report and drag required columns from the left-hand side column list as shown below.
Click on the Save button to save the layout and click on the Done button. You can click on the View Report button to test if the report is working fine or not.
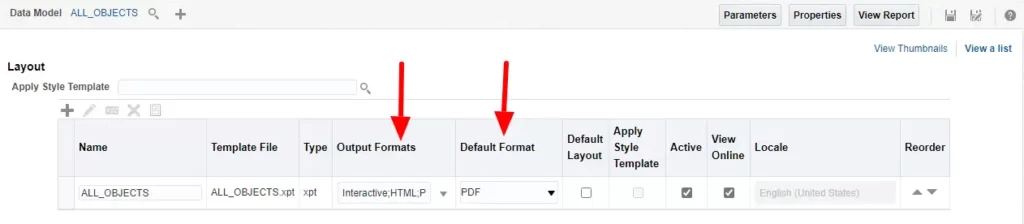
Now, go to the report editor window and make the necessary changes. You can change the Output Formats, Default Format, and other options.
Save when done.
That’s it and your report is created.
2. Create ESS Job
Go to the main navigation screen and select the Setup and Maintenance task. Select the Search option from the Task list menu on the left-hand side.
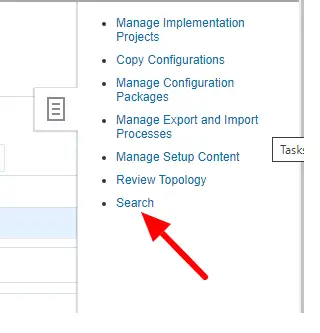
This opens a search window as shown below. Search for Manage%Sch%.
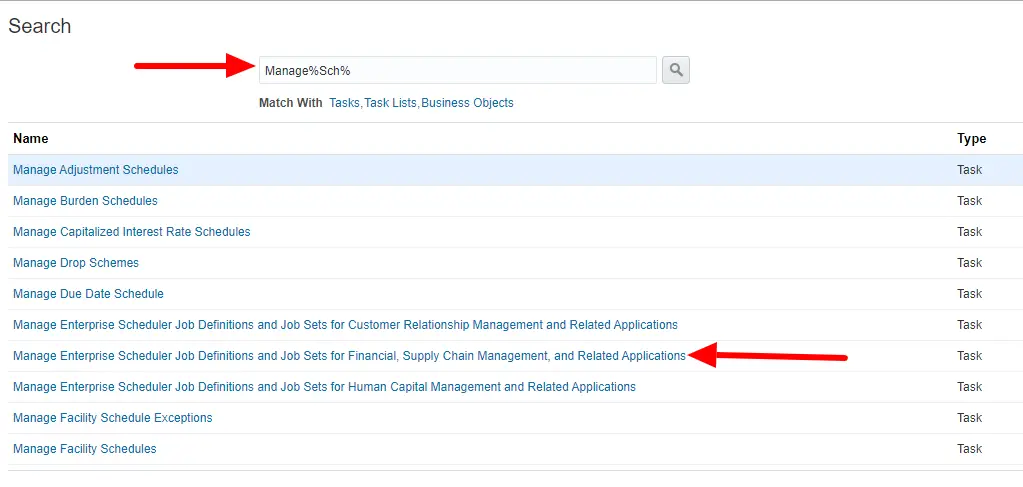
Select the specific link as per your cloud application. For me, it is Manage Enterprise Scheduler Job Definitions and Job Sets for Financial, Supply Chain Management, and Related Applications.
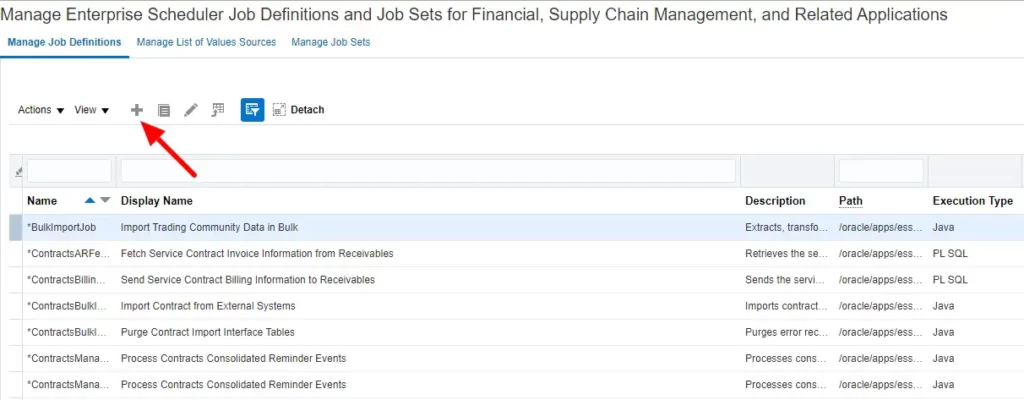
Click on the + sign to create a new ESS Job.
Create ESS Job Definition as shown below.
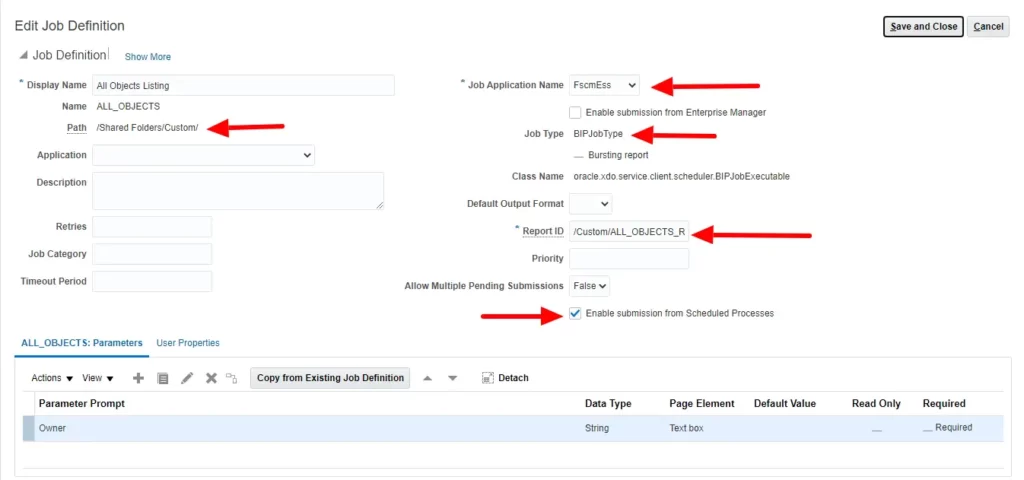
- Display Name – Any valid name for your ess job
- Name – Short Name
- Path – Path where the report is saved
- Job Application Name – Select the application name here
- Job type – BIPJobType
- Report ID – Enter the report name with .xdo extension
You can enter the required information which is self-explanatory. Make sure to select Enable submission from the Scheduled Process checkbox.
Next, go to the parameter tab and create a parameter.
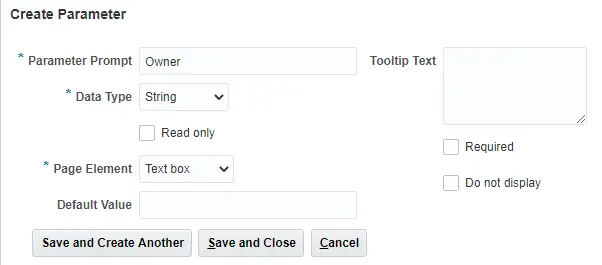
Enter Parameter Prompt, Data Type. You can select Read-only, Required, Do not display checkbox, and specify Default Value if any.
Click on Save and close to return to the main window. On Main Window again, you need to click Save and Close button. This saves your definition of the ESS Job.
Click on Done to exit the setup task.
3. Submit ESS JOb
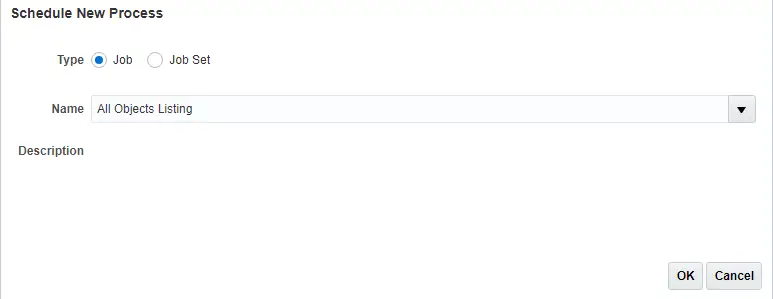
Go to Tools –> Scheduled Processes to submit the ess job. Enter the name of the job in the name field as shown below.
Click Ok.
Enter the parameter value and click on the submit button to submit the ess job.

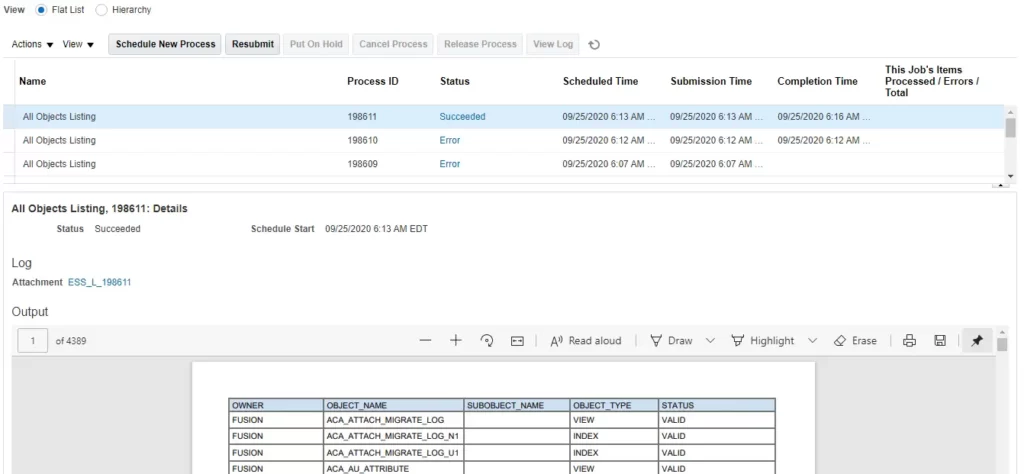
After the report completes, locate and select the corresponding record. The output section will display the generated report. To explore the report further, you can click on the “Republish” button, which will open the output in a separate window. From there, you have the option to export the report in various formats, such as PDF, Excel, HTML, XML, and more.
And there you have it!
Summary: In this tutorial, you gained knowledge about creating a Custom ESS job with parameters in the Oracle Cloud. However, it’s important to note that in cloud/fusion applications, the ESS Job can only be created based on the BI Publisher report, which is the only available option.
Leave a Reply